Hey there! As a supplier of stickers and labels, I'm super stoked to share with you how to make stickers and labels with a 3D effect. It's a pretty cool process that can take your branding or personal projects to the next level.
First off, let's talk about why 3D effect stickers and labels are so awesome. They add a sense of depth and dimension, making your designs pop right off the surface. Whether it's for product packaging, promotional materials, or just to add some flair to your personal belongings, 3D stickers and labels are sure to catch people's eyes.
Materials You'll Need
To get started, you're gonna need a few key materials. Here's a quick rundown:
- Design Software: You can use programs like Adobe Illustrator or Photoshop to create your design. These tools give you a ton of flexibility and control over your artwork.
- Printer: A high - quality printer is essential. You can either use a regular inkjet or laser printer for basic designs, or if you want really professional results, consider a digital printing service.
- Sticker Paper: There are different types of sticker paper available, such as vinyl, paper, and polyester. Vinyl is a great choice for 3D effects as it's durable and can hold up well over time.
- 3D Effect Tools: This can include things like embossing powder, 3D gel pens, or resin. These tools will help you create that raised, three - dimensional look.
Designing Your Sticker or Label
The first step is to come up with a killer design. Think about your brand identity, the message you want to convey, and the overall aesthetic you're going for.
- Sketch Your Idea: Start by sketching out your design on paper. This will give you a rough idea of how you want it to look and help you plan the placement of different elements.
- Use Layers in Design Software: Once you've got your sketch, transfer it to your design software. Use layers to separate different parts of your design. For example, you can have a layer for the background, a layer for the main image, and a layer for any text. This makes it easier to make adjustments and add 3D effects later.
- Choose the Right Colors: Colors play a huge role in making your 3D effect stand out. Use contrasting colors to create depth. For example, if you have a light - colored background, use a dark - colored foreground element to make it pop.
Creating the 3D Effect
Now, let's get into the fun part - creating that 3D effect!
Embossing
Embossing is a classic way to add a 3D effect to your stickers and labels. Here's how you do it:
- Print your design on sticker paper.
- Apply embossing powder over the areas where you want the 3D effect. You can use a brush or a powder puffer to do this.
- Heat the powder with a heat gun or an embossing tool. As the powder melts, it will create a raised, shiny surface.
- Let it cool down completely. Once it's cooled, you'll have a beautiful embossed 3D effect.
3D Gel Pens
3D gel pens are another easy way to add a 3D touch.
- After printing your design, use the 3D gel pen to draw over the areas you want to highlight. You can draw lines, dots, or even entire shapes.
- Let the gel dry. The gel will dry to a raised, shiny finish, giving your design a 3D look.
Resin
Resin is a more advanced option but can create a really professional - looking 3D effect.
- Prepare your resin according to the manufacturer's instructions.
- Pour the resin over the areas of your sticker or label where you want the 3D effect. You can use a dropper or a small brush to control the flow.
- Let the resin cure. This can take a few hours or even a day, depending on the type of resin you're using.
- Once the resin is cured, you'll have a hard, clear 3D surface that looks amazing.
Finishing Touches
After you've created the 3D effect, there are a few finishing touches you can add.
- Cutting: Use a pair of sharp scissors or a cutting machine to cut out your stickers or labels. Make sure to cut them as precisely as possible for a professional look.
- Laminating: If you want to protect your stickers and labels and make them more durable, you can laminate them. There are laminating machines available that are easy to use at home.
Some of Our Products
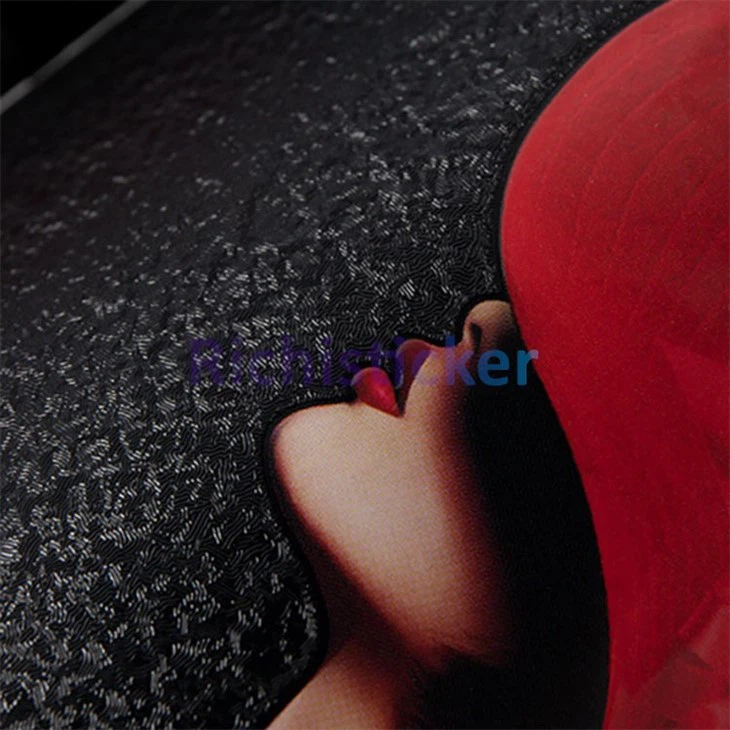
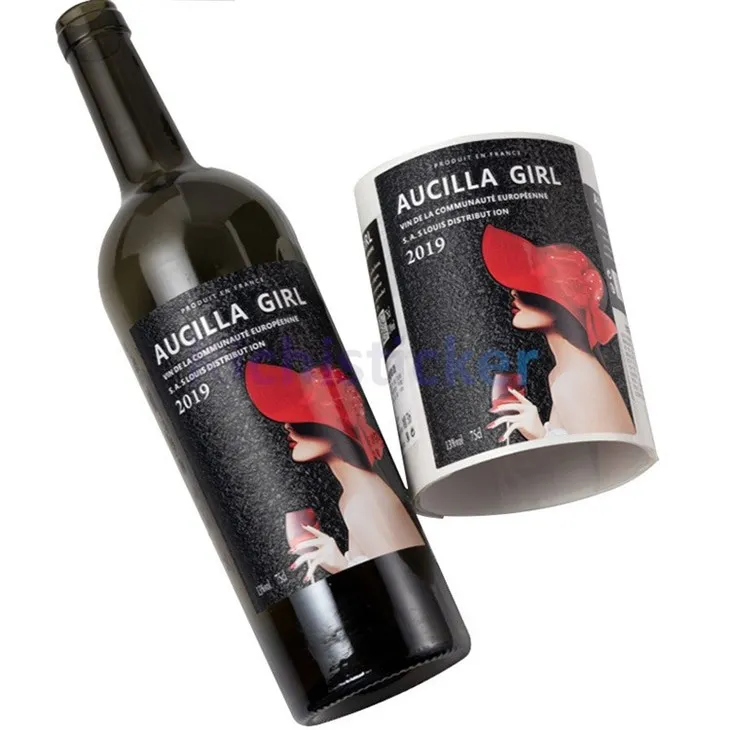
We offer a wide range of stickers and labels with amazing 3D effects. Check out our UV Bronzing Stickers Vinyl Wine Bottle Label and Textured Red Wine Bottle Vinyl Stickers. These products are perfect for wine bottle branding and will make your bottles stand out on the shelves.
Contact Us for Procurement
If you're interested in our stickers and labels or want to learn more about custom - made 3D effect stickers and labels, we'd love to hear from you. Whether you're a small business owner looking to brand your products or an individual with a creative project, we can help you bring your ideas to life. Just reach out to us, and we'll start a conversation about your needs.
References
- "The Complete Guide to Sticker Making" by Sticker Experts
- "3D Design Techniques for Beginners" by Design Mag
So there you have it - a comprehensive guide on how to make stickers and labels with a 3D effect. I hope you found this helpful. If you have any questions or need more tips, feel free to drop a comment. Happy sticker - making!


